
3 Quick and Easy Quilting Crafts to Make for Home Decor
September 30, 2019
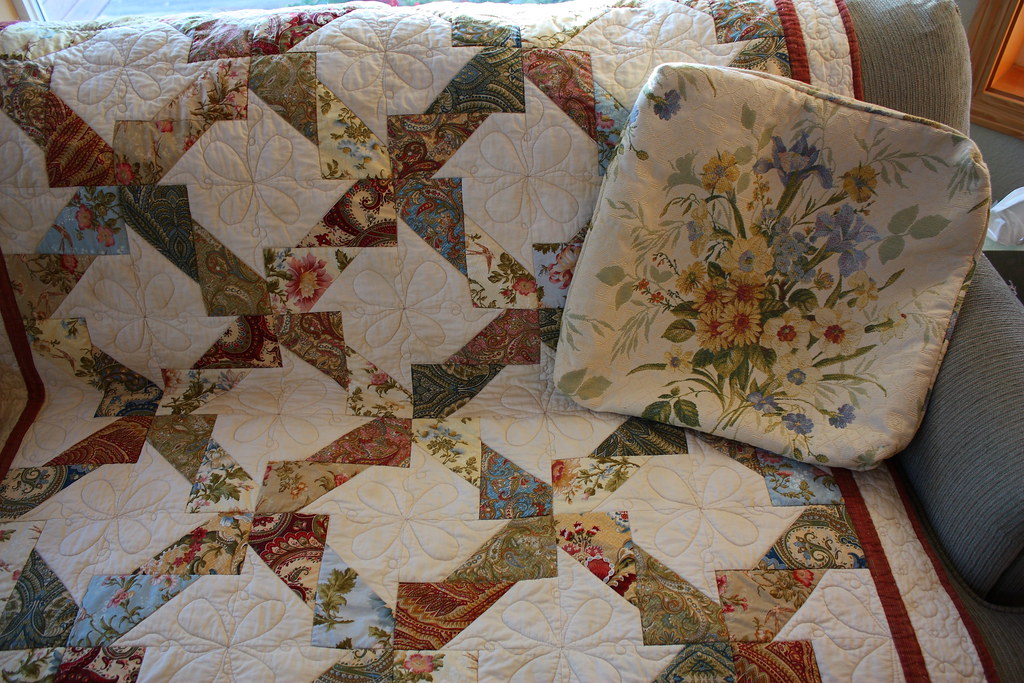
I know it's been a while since I last shared some DIY tutorials. Don't worry, they are coming! And today, we have guest blogger, Lori Wade with us to share some of her quilting craft tutorials!
-
If you like quilting crafts as much as we do, then this article is for you. Today we will share with you a few easy crafts that you can make for your home. They're so easy that even beginners can do! Let's get started.
 A cute quilted fabric basket is perfect for storing knick-knacks in the living room or bedroom. It’s also the perfect project to discover quilting and patchwork fabric. You’ll need ½ yard of exterior fabric and ½ yard of lining fabric, as well as medium-weight fusible interfacing.
To start, cut two 18” squares out of all three fabrics. Attach the squares of fusible interfacing to the exterior squares by placing the glue side of the interfacing on the “wrong” side of the exterior squares. Use an iron to melt the glue so the interfacing sticks to the fabric.
Next, stitch a ¼” seam on three sides of the exterior fabric. Stitch the lining fabric the same way, but leave a 4” opening at the bottom edge. On each square, turn the bottom seam over so it meets the side seam, creating a triangle. Perpendicular to where the folded edges meet, measure 4½” down and stitch along that line.
Now you can turn the fabric squares right sides out. Place the exterior fabric inside the lining fabric and stitch along the top of the basket where the fabrics meet. Pull the exterior fabric through the opening you left in the lining fabric. Stitch the opening closed and fold the top edge of the basket down to expose some of the lining fabric.
Bring any room up a notch with this fun quilted curtain project. These drapes are meant to hang from high, wide curtain rods, so keep that in mind when you’re measuring your fabric and add 10 extra inches. So, if the finished curtains are going to be 85 inches long, cut the fabric to 95 inches.
Due to the size requirements, extra wide quilt backing fabric will be the ideal choice for this project. Along with fabric, you will need lining, bias tape, and thread. When it comes to cutting your lining, add 2½” to the finished product. So, in this example, the lining would be 97½” (95 plus 2½).
Next, at the bottom of the fabric, fold the edge up 4” and iron the fold. Fold it up another 4” and iron that fold, too, before pinning the fabric folds in place. Stitch along the hem.
Then, take the lining fabric and fold it 2” up from the bottom and iron the fold. Fold it up another 2” and iron that fold. Pin it in place and stitch along the hem.
The next step is to stitch the lining to the curtain fabric. Do this by laying the curtain fabric flat on the floor and placing the lining on top of it. Make sure the curtain fabric is right side up and the lining is right side down. Line up the left-hand sides of the fabric so one is on top of the other. There should be 1½” of curtain fabric showing beneath the lining.
Pin the sides down so they stay, then stitch the two sides together. Next, line up the opposite sides of the curtain fabric and lining. The curtain fabric is wider than the lining, so for the two sides to meet, the curtain fabric needs to be a bit wrinkled and bunched underneath the lining. Pin the sides down and stitch the two sides together.
At this point, turn the panels inside out so that the right side of the curtain fabric is showing. You might have to move the curtain fabric around so that there is equal bunching on each side before ironing the side edges.
Cut the bias tape into 10 or so 2.5”-long tabs. Fold over 1” of the top edge of the curtain and iron it. Intersperse the tabs along the top edge of the curtain (on the back) and pin them in place before stitching along that top edge. Then, sew the bottom of each tab to hold them in place.
-
If you like quilting crafts as much as we do, then this article is for you. Today we will share with you a few easy crafts that you can make for your home. They're so easy that even beginners can do! Let's get started.
1. Fabric Basket
To start, cut two 18” squares out of all three fabrics. Attach the squares of fusible interfacing to the exterior squares by placing the glue side of the interfacing on the “wrong” side of the exterior squares. Use an iron to melt the glue so the interfacing sticks to the fabric.
Next, stitch a ¼” seam on three sides of the exterior fabric. Stitch the lining fabric the same way, but leave a 4” opening at the bottom edge. On each square, turn the bottom seam over so it meets the side seam, creating a triangle. Perpendicular to where the folded edges meet, measure 4½” down and stitch along that line.
Now you can turn the fabric squares right sides out. Place the exterior fabric inside the lining fabric and stitch along the top of the basket where the fabrics meet. Pull the exterior fabric through the opening you left in the lining fabric. Stitch the opening closed and fold the top edge of the basket down to expose some of the lining fabric.
2. Lined-Back Tab Curtains

Due to the size requirements, extra wide quilt backing fabric will be the ideal choice for this project. Along with fabric, you will need lining, bias tape, and thread. When it comes to cutting your lining, add 2½” to the finished product. So, in this example, the lining would be 97½” (95 plus 2½).
Next, at the bottom of the fabric, fold the edge up 4” and iron the fold. Fold it up another 4” and iron that fold, too, before pinning the fabric folds in place. Stitch along the hem.
Then, take the lining fabric and fold it 2” up from the bottom and iron the fold. Fold it up another 2” and iron that fold. Pin it in place and stitch along the hem.
The next step is to stitch the lining to the curtain fabric. Do this by laying the curtain fabric flat on the floor and placing the lining on top of it. Make sure the curtain fabric is right side up and the lining is right side down. Line up the left-hand sides of the fabric so one is on top of the other. There should be 1½” of curtain fabric showing beneath the lining.
Pin the sides down so they stay, then stitch the two sides together. Next, line up the opposite sides of the curtain fabric and lining. The curtain fabric is wider than the lining, so for the two sides to meet, the curtain fabric needs to be a bit wrinkled and bunched underneath the lining. Pin the sides down and stitch the two sides together.
At this point, turn the panels inside out so that the right side of the curtain fabric is showing. You might have to move the curtain fabric around so that there is equal bunching on each side before ironing the side edges.
Cut the bias tape into 10 or so 2.5”-long tabs. Fold over 1” of the top edge of the curtain and iron it. Intersperse the tabs along the top edge of the curtain (on the back) and pin them in place before stitching along that top edge. Then, sew the bottom of each tab to hold them in place.
3. Seat Cushions
You can use these adorable seat cushions indoors or outdoors for gatherings with friends and family. They ensure that everyone stays comfortable while adding some hominess to the dining space.
To get started, you will need the fabric of your choice, 1” foam, and a Velcro One-Wrap pink strap. The amount of fabric and form you will need depends on how big the seat is. For this example, the cushion will be 12” x 14”.
Start by cutting out a piece of foam the same size as your seat. In this case, it would be 12” x 14”. Cut your fabric so that there is an extra 1½” to account for the hem. Cut the Velcro strap into four 4” long strips.
Lay your fabric flat on the seat, the wrong side out, and decide where you want to put the Velcro strips. Stick two of the strips together, giving them about 1½” of overlap lengthwise. Wherever you place those two strips, do the same thing on the opposite edge of the fabric. There should be about ½” of each strip hanging over the edge of the fabric.
Next, stitch along three edges of the fabric, making sure that you stitch over the Velcro strips to keep them in place. There should be one open edge remaining. Stitch halfway across this edge, and then turn the fabric inside out.
Through the opening, insert the foam and smooth out all the corners. Then, stitch the fabric shut. You should now be able to secure the cushion to the seat, using the straps to keep it in place on the chair.
This post is contributed by: Lori Wade
Lori Wade is a journalist from Louisville. She is a content writer for who have experience in small editions, Lori is now engaged in news and conceptual articles on the topic of DIY and quilting. If you are interested in crafting or lifestyle, you can find her on Twitter & LinkedIn. She has good experience and knowledge in the field.
Lori Wade is a journalist from Louisville. She is a content writer for who have experience in small editions, Lori is now engaged in news and conceptual articles on the topic of DIY and quilting. If you are interested in crafting or lifestyle, you can find her on Twitter & LinkedIn. She has good experience and knowledge in the field.
![About [span]me[/span]](https://blogger.googleusercontent.com/img/b/R29vZ2xl/AVvXsEg51YZA3uff_lGfAm2WPvaPtznUF0gsieSuVaBa_d4ueEQHmGAHJoO-6IjG2QhrHsB6TFxtBe7Kp7pgPhQ9JxDPFeWf9zlhWBpmioDCq_cgwCmfvXsb3Q935VBe0Bg1yrOJFakkvZK6XQ/s1600/profile7.png)


![About [span]me[/span]](https://blogger.googleusercontent.com/img/b/R29vZ2xl/AVvXsEi0M_3kH8dItlAXTuIsv2fy6Vh66DmueOkq-Xb31dyGKOzuemaVtbrM_2rVWoIm3NFdwlpPEnezCBHeO6vHRn-aPne1M7U9EI4PUTUT6f0IyYR43irzt8-u23HGLtfqpBdheA-g6LhyQA/s608-Ic42/profile5.png)
16 comments
Thank you for sharing these! That fabric basket is too cute!
ReplyDeleteThis is so cute! My grandma quilts and I think it's so neat!
ReplyDeleteHa! I am not a quilter but these do look entertaining for those who do! :)
ReplyDeleteThese are great ideas! I love those curtains!
ReplyDeleteThese tips are vrey awesome my mom really like these amazing ideas to decorate house
ReplyDeleteSoo cute thanks for sharing
ReplyDeletewow such great ideas!! Thank you for sharing!
ReplyDeleteI love that basket! It looks like it would be a lot of fun to make too!
ReplyDeleteI would like to make my own seat cushions. The ones you can find in stores usually have limited designs, but by making your own, using the perfect fabric to match the rest of the room, you can add a really nice touch of color to your home.
ReplyDeleteI just recently had my new home built (like they just finished installing the glass windows and doors), I'm still looking for designs and I think I'm gonna go with those curtains! I really happy I stumbled upon this post!
ReplyDeleteWhat great ideas. I want to try quilting someday so I can make some cute and awesome things like these!
ReplyDeleteWow Creative! thanks for sharing.
ReplyDeleteQuilting is one of my oldest hobby that I learned from grade school. It is absolutely relaxing while doing crafting.
ReplyDeleteI love the fabric basket idea! It would be great for blanket storage
ReplyDeleteQuilts are the best! Especially the ones prepared with mom's old saree :)
ReplyDeleteUsefull information
ReplyDeleteI'd love to hear your thoughts and comments! Come back soon :)