DIY Christmas Holiday Shaker Cards
November 24, 2021
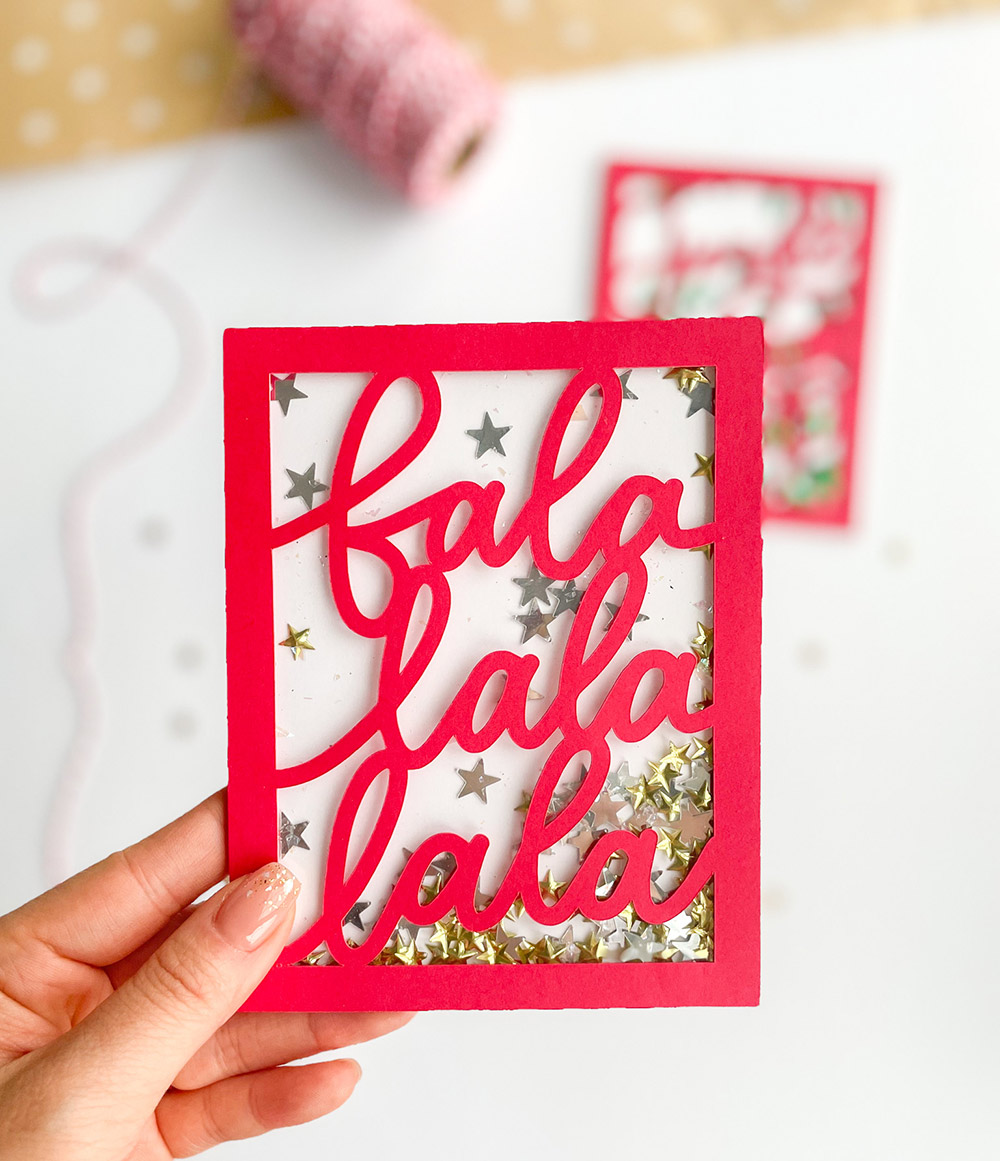
Hello everyone, I can't wait to share with you my latest shaker cards for the Christmas holiday! In case you don't know what shaker cards are, they are cards that have clear windows and are filled with little bits of decorative items such as confetti, sequins or ornament fillers. I'm so in love with how they turned out and they are so easy to make! Follow along my step-by-step tutorial and learn how to make these shaker cards with my hand-lettered svg file at the bottom of this post.

Supplies You'll Need:
- White and red cardstock
- Ornament fillers/sequins/confetti
- Acetate
- My handlettered SVG file
- Foam mounting tape, glue/adhesive tape
- Cricut or other cutting machines
Instructions:
To make these cards, You'll need some cardstocks. Choose a colour for the outer layer (I used red) and a lighter colour for the inside. I used white for higher contrast but you can reverse the colours for a different look, like my papercut holiday cards, for example.

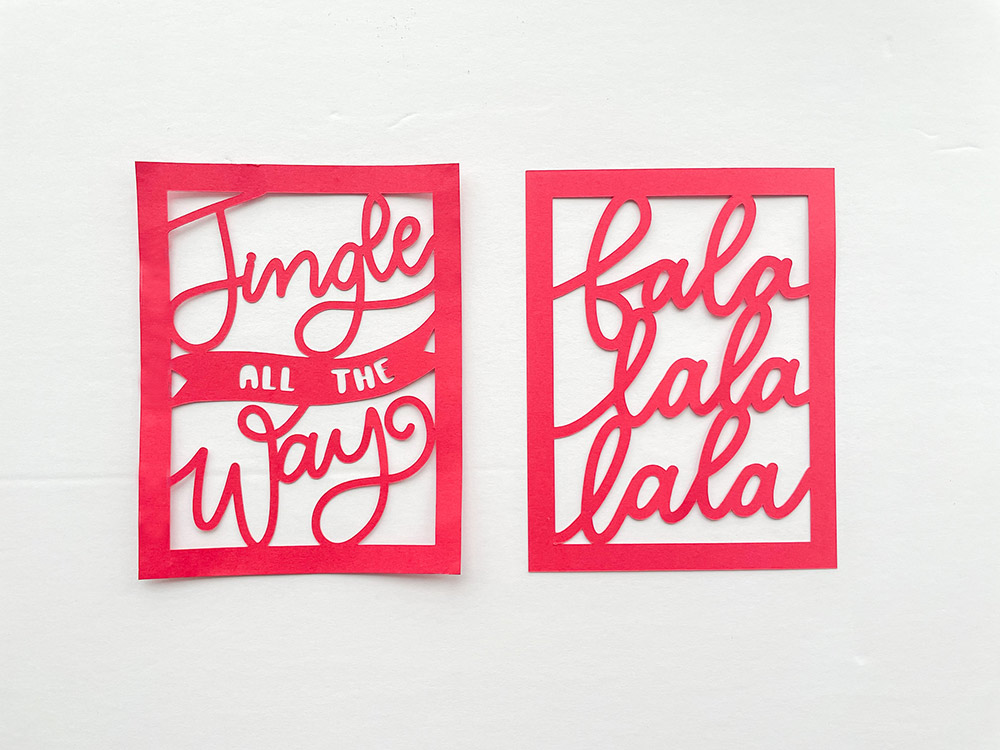
Now, you should have the red outer layer in 4.25 x 5.5" cut out as the front window trim of your shaker greeting card. Next, you'll need to create the actual window using the acetate. Cut out your acetate in the same size (4.25"x5.5" or slightly smaller) and attach it to the back of the red layer using glue or adhesive tape.
Create a border to contain all your fillers by attaching your foam mounting tape along the edge of the red layer and acetate. Next step is my favourite part, add the fillers, confetti, glitters (you can get creative here!) inside your border. You'd want to make sure that you leave a bit of room for these fillers to move around when you shake the card. So don't go overboard with your fillers!
Take a piece of white cardstock and trim to the size of 8.5 x 5.5" and fold in half. This will be the inner layer for your personal message. To close off the window and contain the fillers, peel off your foam mounting tape and carefully attach the front of your white cardstock onto the border. The fold should be on the right hand side of the red layer. You'd want to make sure the red and white layers align with each other for a cleaner look. Apply pressure onto the card and that's it!
You've just created a beautiful shaker card! Pretty easy, right? I love the endless possibilities for these shaker cards and they are soooo fun.


I hope you like this DIY tutorial! If you give this a try, be sure to share your pictures with me on Instagram and tag @tingandthings_ or use hashtag #diywithting. I'd love to see your take on it!
Get this shaker card here
May your holiday sparkle like these shaker cards!
Happy creating!
Disclaimer: This post contains affiliate links and I may receive a cute commission if you make a purchase through my links at no extra cost to you. Thanks for your support :)


![About [span]me[/span]](https://blogger.googleusercontent.com/img/b/R29vZ2xl/AVvXsEg51YZA3uff_lGfAm2WPvaPtznUF0gsieSuVaBa_d4ueEQHmGAHJoO-6IjG2QhrHsB6TFxtBe7Kp7pgPhQ9JxDPFeWf9zlhWBpmioDCq_cgwCmfvXsb3Q935VBe0Bg1yrOJFakkvZK6XQ/s1600/profile7.png)


![About [span]me[/span]](https://blogger.googleusercontent.com/img/b/R29vZ2xl/AVvXsEi0M_3kH8dItlAXTuIsv2fy6Vh66DmueOkq-Xb31dyGKOzuemaVtbrM_2rVWoIm3NFdwlpPEnezCBHeO6vHRn-aPne1M7U9EI4PUTUT6f0IyYR43irzt8-u23HGLtfqpBdheA-g6LhyQA/s608-Ic42/profile5.png)
0 comments
I'd love to hear your thoughts and comments! Come back soon :)